Self Hosted Cloud Gaming : Apollo/Sunshine and Moonlight and Tailscale

So you have bought a gaming handheld like the steamdeck or legion go, or you want to build a gaming server that allows you to not have everyone in the house make their own PC, the following guide will help you out in understanding how to setup your local Cloud streaming and also be able to remote into your network and be able to securely play from anywhere
You may be wondering whats so bad about the normal steam remote play. The issues stem from it being very basic and the level of customisation and the optimisation is just not there. A game i play using remote will be locked to 60 when i can get 120 using Apollo, because the game scales correctly allowing my gpu to push more frames. If you plan to buy AAA games or games that won't run super well on the steamdeck but have a PC, remote streaming is the only way to go
Self-hosted Streaming
Sunshine is a self hosted tool that allows you to setup cloud streaming from your PC or Server. Apollo and Duo (Which is quite similar to apollo) are forks of sunshine itself. The benefits of using Apollo is that it configures sunshine to be able to do a virtual display (only on windows, coming soon on Linux).
Lets say you want to be able to use Netflix or Youtube on your PC while gaming on your handheld, then apollo helps setup a virtual display for you, it can also configure the audio so the audio is split up allowing you to play your game uninterupted and use your PC. Duo is the same but it supports multiple devices. So if you want a gaming server to cloud stream then you should use Duo
My current configuration is using my gaming pc and my steam deck, all the steps should be exactly the same but you should try and double check if you may need a different step
Streaming Client
Moonlight will be your streaming client that you will use to connect to your gaming PC or server. As all these tools are quite well synced they will work together quite seamlessly. Depending on what client you want to play on, you can also stream to iOS or Android devices too.
The guide

Apollo

- Your first step is to install Apollo (or whichever host you want) onto your pc. Sunshine supports different OS's you can see how to install yours based on what OS you are using. But I will assume you use windows (so my steps will be following for windows) as thats the most common for this setup. This is the Getting Started, where you can see the installation guide
- Once you have installed and you can open the apollo application from your search bar, it should open a web ui. So apollo will configure the backend for you and give you a nice web ui for you to be able to setup whatever you like
- You may see a message about ViGEEmBus not configured which you may have to do. Go to the github, even though the repository has been archived you can still download the latest, Under releases click the latest version, then download the exe and run it. You will need to restart your windows to see effects.
- Once thats done, You need to configure another setting in apollo, under applications, you should see Steam Big Picture, click on the edit settings and go down to the "Always create Virtual Display", this should be on to make sure the features we want work.
Now you are ready too configure moonlight
Make sure your windows firewall is off as it may cause some issues with the pairing
Moonlight
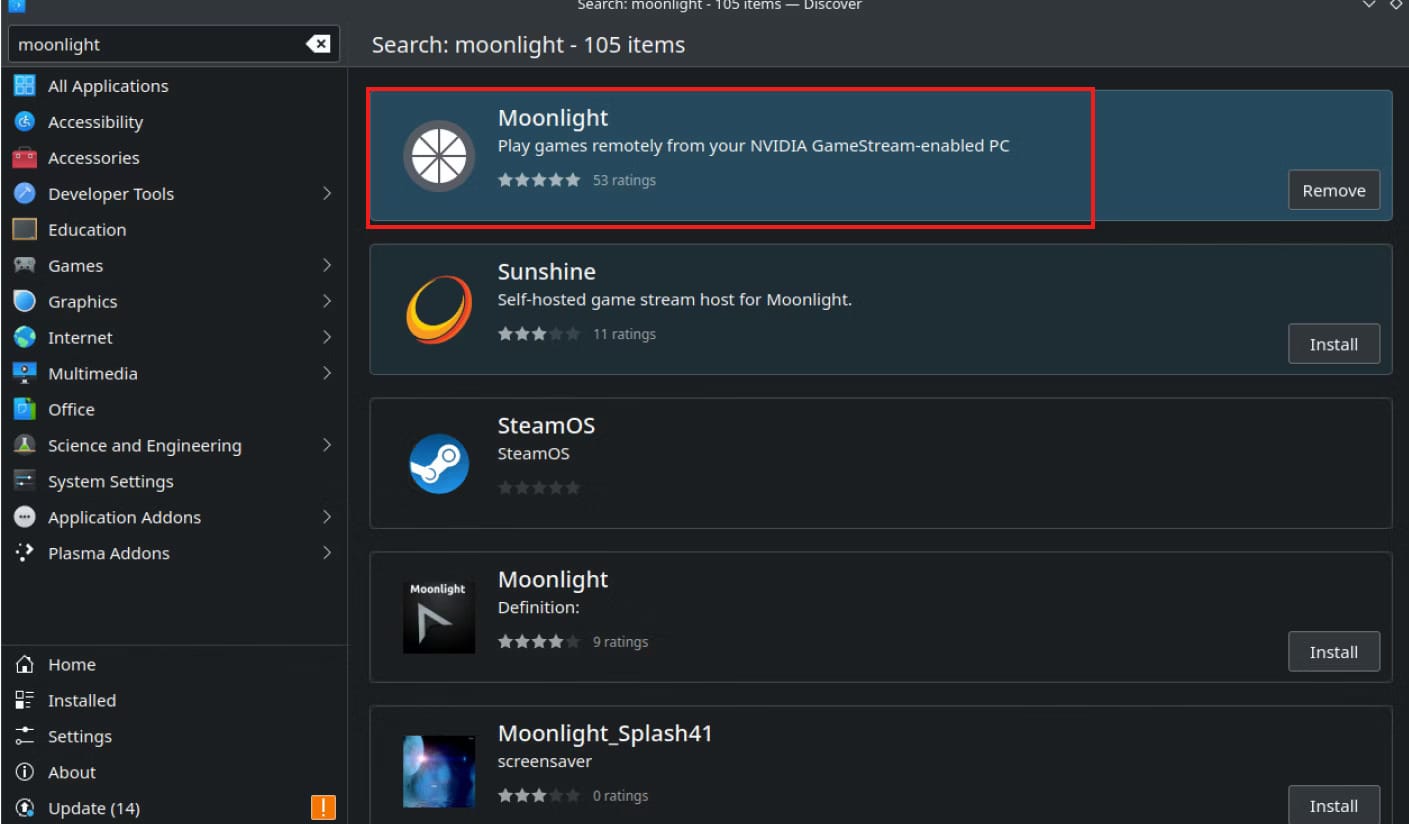
- You can download moonlight on steamdeck using flatpack. You will need to first start desktop mode, you can have have docked your steam deck because using the monitor to makes it easier. At the bottom left you should see an icon that looks like a bag, thats where you can open it and search for moonlight and install
- An added benefit to make it easier, you can open steam in the desktop mode and add moonlight as an application this way when you want to be able to run it from your gaming mode section it can run directly instead of switching between gaming and desktop mode
- When you open moonlight you should see it will ask to scan and will automatically find the host, you can connect by going to apollo and under pin/pin pairing you can pair both.
- Now comes the bit confusing part, to be able to use your computer as it is, you will need to make the virtual display the main display, this will make sure the games will run on that display and not your main display, Don't worry once it gets disconnected your normal display will become main again
- What you will also want to do is to make sure that your chrome or whatever browser outputs the sound to your main output device like speakers instead of the steam virtual audio.
This is the basic setup, its not really that hard to setup but you just need to make sure you do this correctly, You can also add more applications like epic games or Ubisoft if you intend to use them as their own applications, or you can just add the games into steam and launch from there
Remote Play
Now for remote play there will be a few more configs and things that we will need to look out for

We will be using Tailscale which is a zero trust network, if you want to learn more about it you can read my blog about VPN vs ZTNA. But basically this makes sure that only trusted devices connect correctly to the network you are building. This will be how we will be able to connect to our home server
Pre-req
You will need to have WAKE on LAN enabled on the server or PC. This is a simple guide you can follow on it.
You will also need to disable windows hello and configure so that you auto login, that way you don't have to setup other stuff and mess with an external keyboard or mouse and stuff. For this you will need to go to your account settings and under sign in options disable the pin and the windows hello
Make sure this PC is secure or a gaming PC that doesn't have sensitive data, its best not to remove passwords but because our network is for now secure, there should be no issues ( AND RDP IS DISABLED AS WELL) This way only you can connect remotely via Apollo
You can disable the sign in by doing "Win + R" and run the command "netplwiz", here you will have to make sure you disable "Users must enter a user name and passord to use this computer". This will auto login
You can also run these commands that will help lock unlock windows. I still had issues so i disabled the locking compeletly
Tailscale install
Now to be able to remotely turn on your PC and be able to connect, you need wake on lan, but it doesn't work directly, you will need a device on the network that is able to be on 24/7 that can send the WOL packets to start the computer.
For me this is my NAS that has tailscale already installed.
What you can do first is install tailscale by first creating your account then installing it on the sepcific devices you need (I will show steamdeck method after). Then you need the 24/7 device to have subnet forwarding enabled. This will help you understand better about subnet routing. I am not going to go too into detail but if you need more help I will make a tailscale post soon that allows you to understand usecases and applications.
Once done you will be ready to configure your steamdeck, we will follow this guide
https://tailscale.com/blog/steam-deck
How it actually works
It uses systemd-sysext. This is allows you to allow dynamic extension of a Linux system's /usr/ and /opt/directories at runtime, particularly for immutable or read-only base images. Which is very important for our steamdeck because the steamdeck installs in partions. So installing on the specific partition will delete the tailscale once there is a new update
Once you have installed and connected, you are done, you can also look at steamdeck plugins using Decky Loader, this allows you to install a toggle that can turn tailscale on and off
You should now be able to auto login and play from anywhere even if your PC is off
If you are looking to use this over mobile data, you will encounter latency issues, but if you are okay with Port-Forwarding on your router, then opening up the port 41641 only for UDP for your permanant router (E.g. Your NAS) then you should get a peer to peer connection
The reason why it sucks on mobile data is due to some network cariers blocking the traffic or just latency, by port-forwading you allow for a direct connection into the network without needing to go through your NAS via relay
Issues with tailscale on steamdeck?
If you are having issues with tailscale not activating after a point. This seems to be a specific issue where I was able to figure out how to solve it from this comment on reddit
Comment
by u/AndehX from discussion
in SteamDeck
I hope I can have helped you with what you wanted to do and I would be grateful if you signed up for my blog. It does help support me, telling me you enjoy my content and gives me more motivation to keep coming up with detailed posts on various topics that could be useful to you
Member discussion